How to use QuickPages
This is a step-by-step tutorial on how to use the main features within QuickPages.
(creating landing pages)
Step One: Register
The quickest way to register for QuickPages is by integrating your Facebook, Twitter or Google account.
Don’t worry - we won’t post anything without your permission.
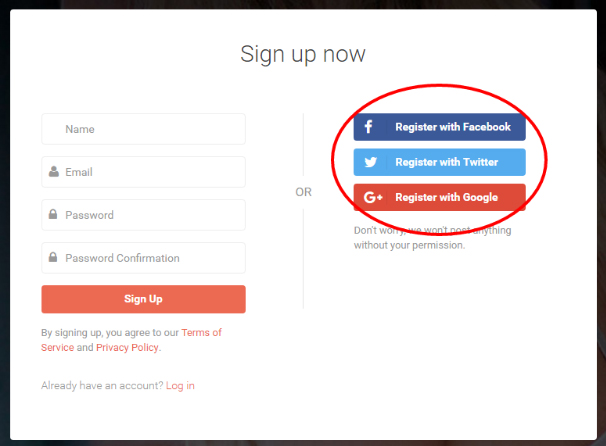
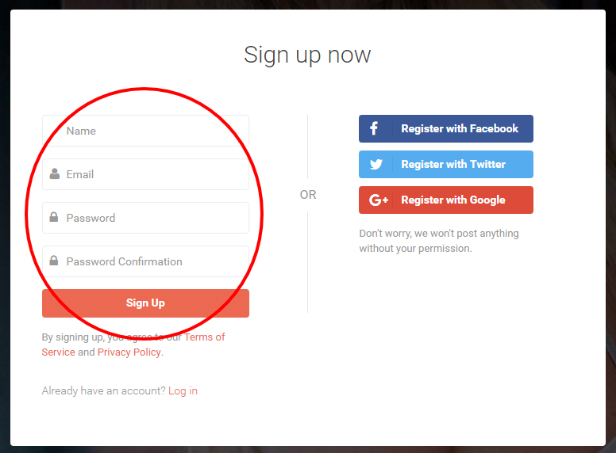
You can alternatively register using your email.
Step Two: Creating New Landing Page
Once you are logged in, click “add a new page” on the dashboard.

It will bring you to a different screen where you can choose the landing page template you would like to use.
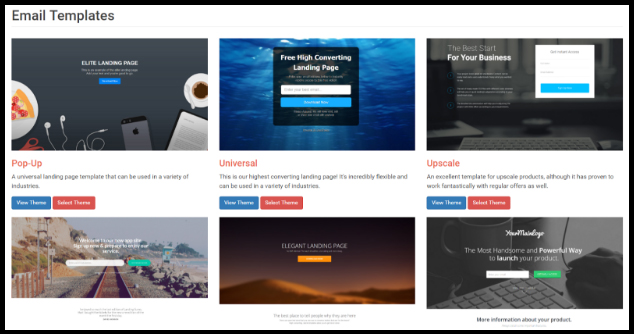
Step Three: Customizing Landing Page
Once you’ve selected a template you’d like to use, you will be promoted to customize it.
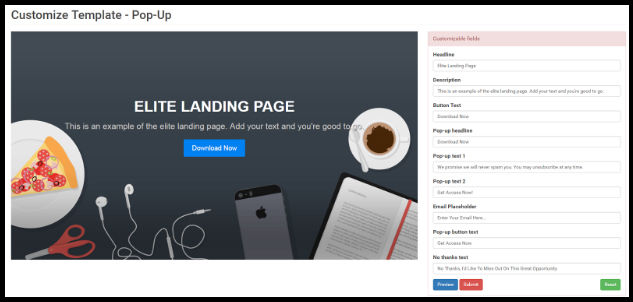
After making your customizations, you can preview your landing page before committing to the changes.
When you’re satisfied with the landing page, click “submit”.
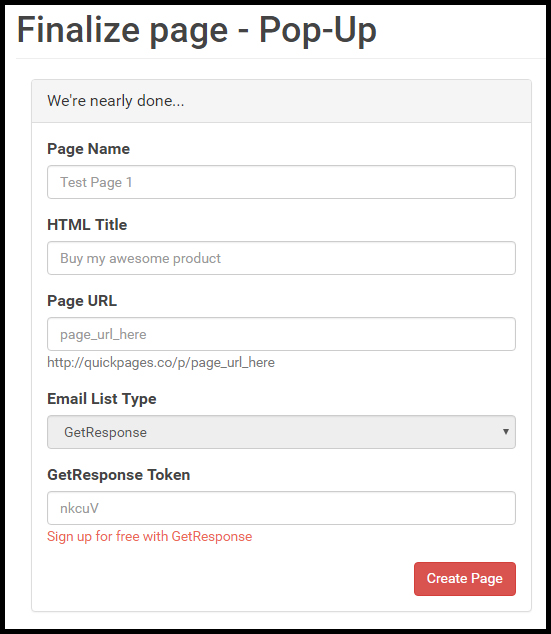
Step Four: Integrating with GetResponse
Next you will be prompted to choose the page name, HTML page name and page URL.
The page name is only visible to you in your QuickPages dashboard.
The HTML page name will be visible to your visitors on the tab.
The page URL will be the actual URL which you will use to promote your landing page.
Step Five: Promoting Your Landing Page
Next you should receive a link to your new landing page.
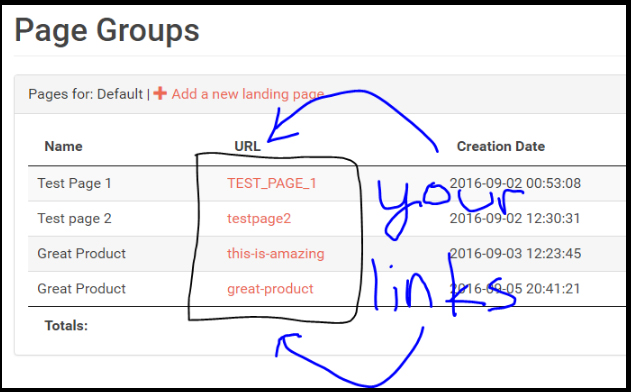
Congratulations! You’ve now published your landing page and it’s live.
Use the live link to promote your landing page.
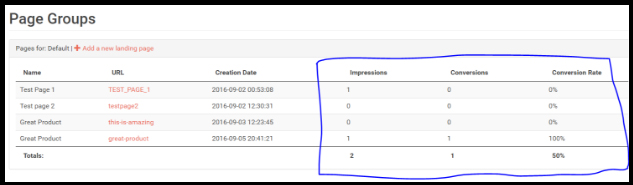
Other Features: Tracking
When you’re promoting your landing page, you’ll want to track it to see how it’s doing.
In your dashboard you will see a summary of all your landing page campaigns along with statistics on how well they’re performing.